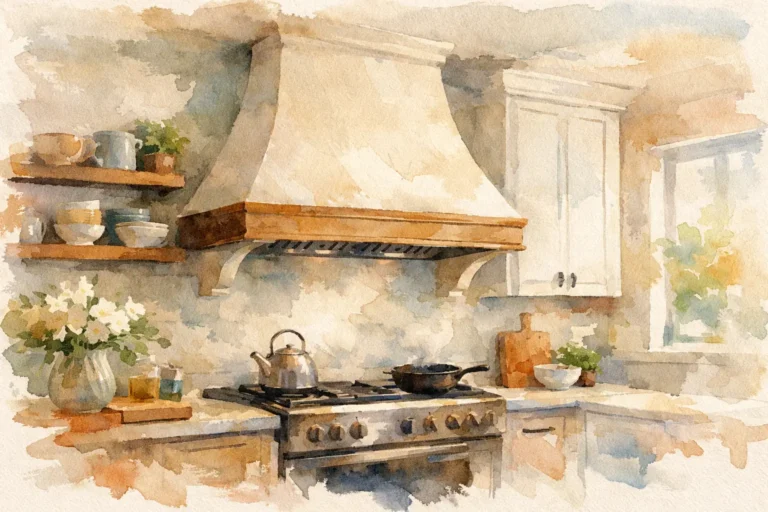
Custom Range Hood Installation That Fits Your Kitchen
A range hood can be the feature that gives a kitchen its finished, intentional look – or the detail that quietly creates years of frustration. Custom range hood installation is not simply about mounting a beautiful surround over the cooktop. It requires the right balance of ventilation performance, structural support, clearances, proportions, and finish work so the hood looks built for the room and works when dinner is actually on the stove.
For homeowners investing in a kitchen remodel, this is one area where design decisions and construction details must be made together. A hood that is too small, too high, poorly vented, or unsupported behind the wall can compromise both the kitchen’s comfort and the value of the finished work.
Start With How You Cook
The appropriate hood begins with the cooking surface below it. A homeowner who primarily warms meals on an electric range has different ventilation needs than someone using a high-output gas range, griddle, or professional-style cooktop. Heat, grease, steam, and combustion byproducts all affect the level of capture and airflow the hood must provide.
CFM, or cubic feet per minute, measures how much air a blower moves. More CFM is not automatically better. A powerful blower paired with undersized ductwork can be loud and ineffective. It may also create pressure issues in a tightly built home if makeup air is not considered. The goal is a system designed around the appliance, the duct path, the home’s construction, and the way the kitchen will be used.
A custom hood also needs sufficient capture area. In many kitchens, the hood should be at least as wide as the cooktop, and it may need to extend beyond it for stronger capture. Depth matters as much as width. A shallow decorative hood may look appropriate in a rendering but struggle to collect steam from front burners. Good planning keeps the visible design from working against the function.
Custom Range Hood Installation Begins Behind the Wall
The finished hood is only one part of the installation. Before cabinetry, tile, plaster, or a decorative surround is completed, the team needs to understand what is happening inside the wall and above the ceiling.
Duct routing affects performance
Whenever possible, a vented hood should exhaust outdoors. The most efficient duct path is generally straight, short, and properly sized for the blower. Every sharp turn, reduction in duct size, or unnecessary run length adds resistance. That can reduce airflow and increase noise.
A recirculating hood can be an option where exterior venting is not possible, such as certain condominiums or difficult remodeling conditions. It filters some grease and odors before returning air to the room, but it does not remove heat, moisture, or combustion gases in the same way as exterior venting. For a serious cooking kitchen, ducted ventilation is usually the stronger long-term choice.
The exterior termination also deserves attention. It must be located and flashed correctly to protect the home from weather while allowing air to discharge as intended. This detail is easy to overlook because it is not part of the kitchen’s visual finish, yet it is essential to the system’s performance and durability.
Support and framing cannot be an afterthought
Custom wood, plaster, stone, metal, and tile-clad hoods can be substantial. The insert, liner, blower components, trim, and surrounding finish materials all add weight. Proper blocking and framing provide a secure mounting point before the decorative work begins.
This is especially important when a hood is centered over an island. Island hoods may require ceiling framing, carefully planned duct placement, and electrical coordination long before the final piece is lifted into place. A beautiful surround should never be asked to carry loads it was not designed to support.
Electrical and makeup air need coordination
Most hoods require a dedicated electrical connection, and some blower configurations need additional planning. Higher-capacity kitchen ventilation may also trigger makeup-air requirements under applicable building codes. Makeup air replaces the air being exhausted so the home does not develop excessive negative pressure.
The practical result is better ventilation and fewer surprises. Without proper planning, a powerful hood can make exterior doors harder to open, pull fireplace odors into the room, or interfere with other combustion appliances. Requirements depend on the system capacity, the home, and local code, so this is a conversation to have during pre-construction, not after finishes are installed.
Proportion Makes a Custom Hood Feel Built In
A custom range hood often becomes the visual center of the kitchen, particularly when it is placed between tall cabinets or above a large statement range. Its proportions should relate to the ceiling height, cabinet scale, backsplash, island, and surrounding materials.
In a kitchen with eight-foot ceilings, a large, heavily detailed hood can feel crowded if its chimney is too tall or its lower profile projects too far into the room. With ten-foot ceilings, the same design may need more vertical presence to avoid looking undersized. The right answer depends on the room, not a standard formula.
The relationship between the hood and cabinetry is equally important. Some homeowners prefer a hood that aligns with upper cabinet depths and creates a tailored furniture-like elevation. Others want a more sculptural plaster form that stands forward from the wall. Both can work, but the insert and liner dimensions must be established first. The decorative concept should be designed around a ventilation system that can be installed and serviced correctly.
Materials Should Match the Kitchen’s Real Life
A custom hood can be finished in painted wood, stained wood, stainless steel, metal cladding, plaster, stone, or tile. Each material creates a different character, and each has practical trade-offs.
Painted wood hoods can bring warmth and continuity to a cabinet design, especially when the color is repeated on an island or built-in cabinetry. They need a properly sized liner to protect adjacent materials from heat and grease. Plaster hoods create a soft, architectural presence and work well in transitional, old-world, and contemporary spaces, but their texture and coating should be selected with cleaning in mind.
Metal hoods are durable and classic, though fingerprints and visible seams may influence the preferred finish. Stone can make a dramatic statement but requires careful structural planning due to its weight. Tile offers flexibility and can connect the hood to the backsplash, yet layout and edge details must be resolved before installation so cuts do not look improvised.
The best material is not necessarily the most expensive one. It is the one that supports the kitchen’s design, accepts the technical requirements of the hood system, and suits the homeowner’s expectations for maintenance.
Clearances Are a Safety Detail, Not a Styling Choice
The space between the cooktop and hood is determined by the appliance manufacturer’s instructions, hood specifications, local requirements, and the hood’s material. Installing too low can create a safety concern and make cooking uncomfortable. Installing too high reduces capture performance, allowing smoke and steam to escape into the room.
This becomes more complicated with decorative surrounds because the visible lower edge may not match the actual working edge of the liner. A professional plan accounts for both. It also considers nearby crown molding, cabinet doors, open shelving, and combustible materials that may fall within required clearances.
Before fabrication begins, confirm the exact range model, hood insert, blower arrangement, and installation instructions. Changes late in the project can affect cabinet dimensions, duct routing, electrical locations, and the finished height of the hood.
Why One Team Should Coordinate Design and Installation
A custom hood touches several trades: framing, electrical, HVAC, cabinetry, drywall or plaster, tile or stone, painting, and finish carpentry. When these decisions are made in isolation, the risk is not merely a delayed schedule. It can lead to a hood that does not fit its liner, ductwork that conflicts with framing, or a beautiful finish that must be opened after installation.
At Edwards Design Group LLC, the design-to-installation approach helps homeowners make those decisions before construction reaches the point where changes become costly. Visual planning can establish the hood’s scale and relationship to surrounding cabinetry, while field expertise addresses the less visible details that determine whether it performs as intended.
A custom range hood should feel effortless once the kitchen is complete. That feeling comes from careful measurements, informed material selection, disciplined installation standards, and a team that treats every concealed detail as part of the finished result. When you are ready to plan a kitchen that works as beautifully as it looks, start the hood conversation early – before the walls close and the final design decisions are locked in.